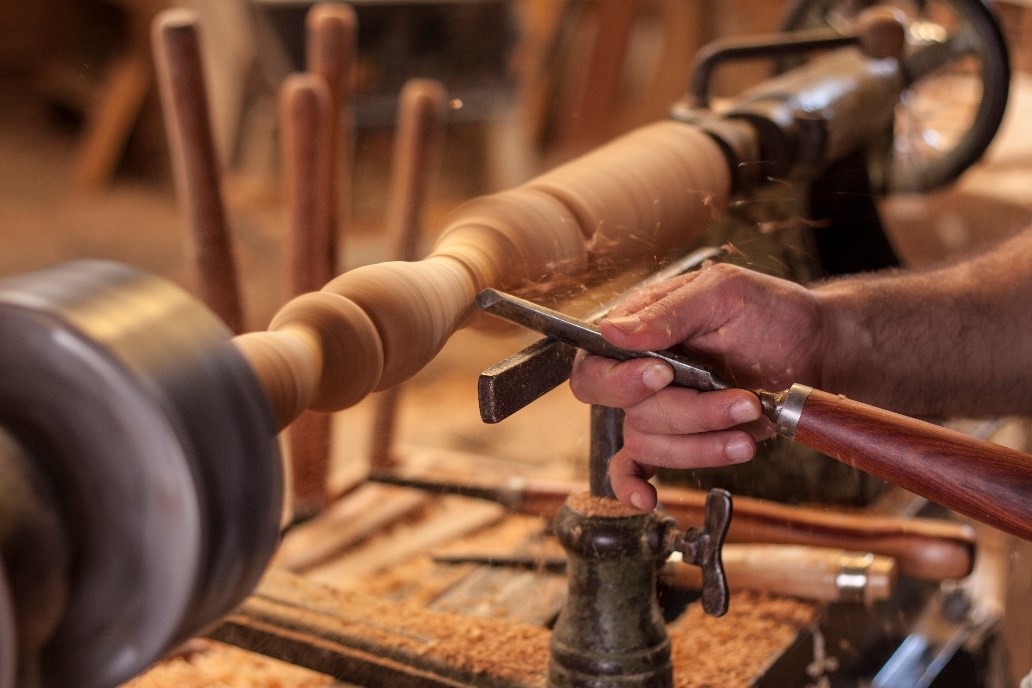
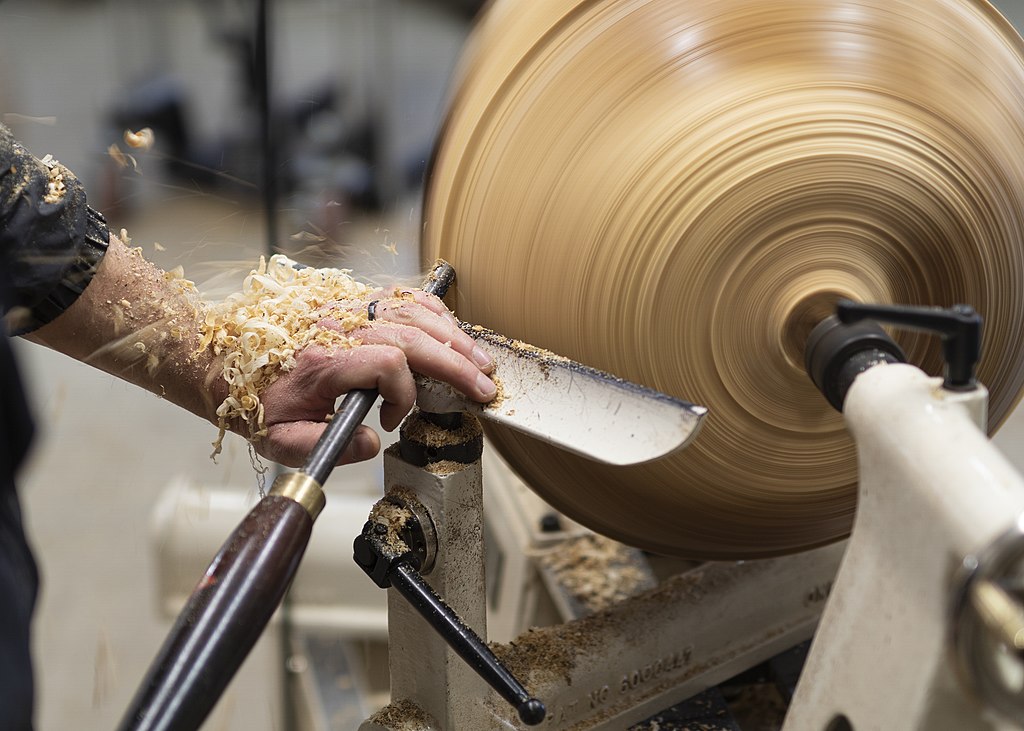
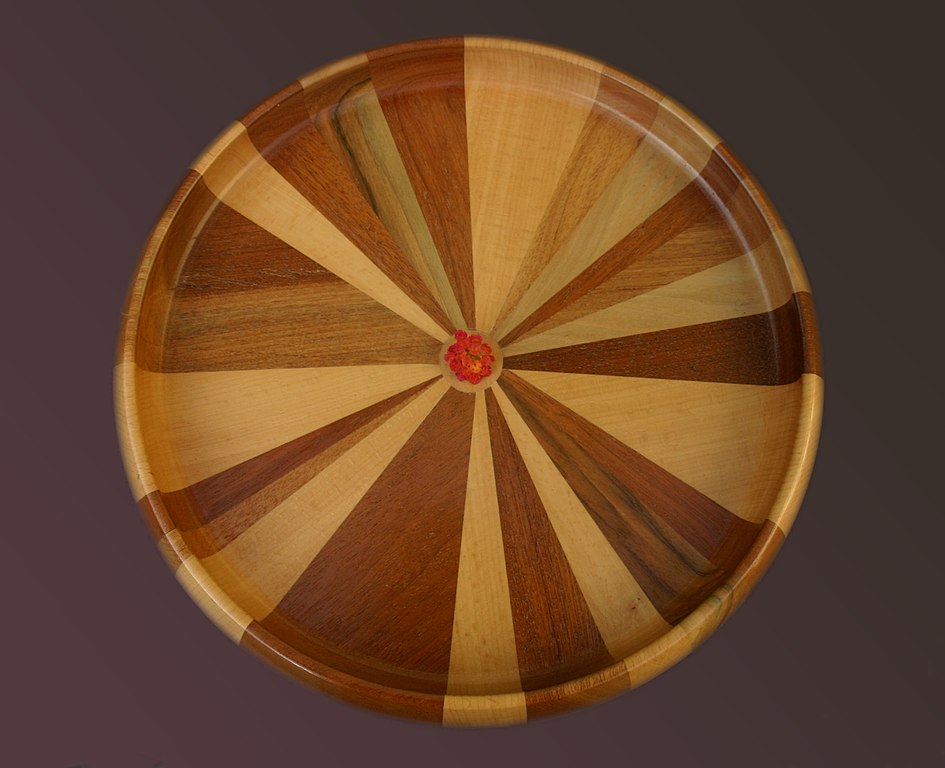
The woodturning process you choose will depend on the type of wood, project size, intended use, sheen level, and wood type. Also, consider cleaning, repairability, as well as food contact. Here are six popular options for everyday use, decorative pieces, and furniture parts. Below are some pros and disadvantages to each wood turning finishing. I hope you will find one that works well for you. Learn more about the various woodturning finishes.
Friction Finish
You should consider what type of wood you have, what purpose you are using it for, what sheen you desire, and how simple the whole process will be. You should consider how easy it is to clean up the finish after application, whether it can be reused, and whether the finish will be exposed to water or food. Below are six woodturning finishing options that are most popular and which one is best for your project.
The most common finish used for woodturning, is friction polish. This finish protects your work while giving you high gloss. You can apply it to any type of wood, or you can use it over a sealer. Any Chestnut Products sealer can be applied friction polish. It dries quickly and gives you a deep, shiny finish within a few minutes. This method can give a French polish-like ringing effect and is simple to apply.
Oil/varnish blends
Oil/varnish mixes are one of the most effective wood finishing methods. These blends combine the benefits from oil and varnish oils to give the wood a durable finish. They are also easier to apply and have the advantage of penetrating the wood to create a thin film that offers a satin sheen. However, the process is time consuming, so oil/varnish blends aren't always suitable for a high-traffic piece.
Tin oil and Linseed oil have the commonest properties, but they are extremely thin in build. A high-quality finish can be built up more than a thin layer of linseed or tung oil. Raw tung oil can take several coats to set up because it tends to harden slowly. The oil/varnish mix is an easier and quicker way to create a durable wooden finish.
Watco Penetrating Danish Oil
Watco Danish Oil contains a unique blend between penetrating varnish and oil that hardens inside wood. This gives the wood a deep, rich glow similar to hand-rubbed finishes. Danish oil can either be applied with a brush, roller, or simply by wiping. This penetrating oil provides superior protection from within the wood. It's a good choice for both beginners and professionals in woodworking.
Use a clean, lint free cloth to apply the Danish oil on the wood. Use broad, long strokes to ensure that the oil is fully covered. Allow the Danish oil to dry for 20 minutes before applying the second coat. Before rinsing, let the Danish oil absorb into the wood. This will prevent drying problems. Poor results will be obtained if you use a brush, or any other tool that can cause puddling.
Tried and True Danish Oil
The best way to use Tried and True Danish Oil for wood turning is to follow the instructions on the bottle to the letter. You should use a lint-free cloth, and apply it to your wood piece by rubbing it with the cloth. Danish Oil can cause puddling if applied with a brush. Allow the oil to penetrate the wood for at least 5 minutes. You can then rub the oil with the cloth and then sand down the piece to remove as much oil as possible. Make sure to follow the application instructions on the bottle.
Many benefits can be found in tried-and-true Danish Oil. It bonds to wood with an oil-based finish, protecting it against cracks. Danish Oil is nontoxic, which makes it safe to use for many purposes. Danish Oil can be used in kitchen accessories, toys and interior joinery. You can also use this oil to make your butcher block.
Starbond EM-150 Medium CA
Starbond EM-150 Medium CA Glue is a multi-purpose, oil-like ethyl cyanoacrylate super glue. Its unique characteristics enable it to penetrate and fill small spaces while producing a high shine finish. It's ideal for woodturning projects or home repairs. This glue can be found in a variety of applications in home improvement shops.
This medium-performance ethyl cyanoacrylate adhesive is best used for general-purpose repair. It includes eight micro-tips, clog-free applicator caps and stoppers. It dries quickly, making it a good choice for wood turning finish and other lapidary applications. It bonds quickly, with a viscosity that is 0.006 inches.
FAQ
How do you know which tools are the best for you?
It's important to consider your preferences and needs when buying tools. Do you prefer metal or plastic handles What size screws and nails do you use most often? Are you more comfortable using power tools than hand tools?
How long does it take for furniture to be finished?
It depends on which wood you choose, how complicated your design is and what amount of finishing you apply. For example, hardwoods require more maintenance than softwoods. Hardwoods can also be more costly than softwoods. But they last longer, and resist moisture better. Finishing furniture can take anywhere from one week up to three months.
How often should I purchase new supplies?
You'll probably have to replace some of your tools over time. You'll need to sharpen your hand tools regularly if you use them. You'll also need to replace parts if you use power tools. To avoid buying too much at once, try to spread your purchases out over a few months.
Statistics
- Woodworkers on the lower end of that spectrum, the bottom 10% to be exact, make roughly $24,000 a year, while the top 10% makes $108,000. (zippia.com)
- If your lumber isn't as dry as you would like when you purchase it (over 22% in Glen Huey's opinion…probably over 10-15% in my opinion), then it's a good idea to let it acclimate to your workshop for a couple of weeks. (woodandshop.com)
- Most woodworkers agree that lumber moisture needs to be under 10% for building furniture. (woodandshop.com)
- Average lumber prices rose about 600 percent between April 2020 and May 2021. (familyhandyman.com)
External Links
How To
How to join wood without using nails
Woodworking is a favorite hobby. Woodworking is a relaxing hobby that allows you to use your hands to create useful things from wood. You might want to join two pieces from the same wood, but you don't need to use nails. This article will teach you how to do this to keep your woodwork projects looking great.
Before you can join the wood pieces together, you need to remove any rough edges. You don't want to leave sharp corners that could cause problems later on down the road. Once you have done that, you can begin gluing your boards together.
You should only glue one side of hardwood. If you are using softwoods such pine or cedar, glue should only be applied to one side. Once you have applied the glue, press down on the boards until they are fully attached. After applying the glue, let dry the boards before proceeding to the next stage.
After you have glued your boards, drill holes where you want to insert screws. These holes will differ depending on the type and size of screw you are using. For example, if you're going to use a 1/2-inch wood screw, then you should drill a hole that is at least 3/4 inches deep.
Once you've drilled your holes, you'll want to drive the screws through the joint and into the backside of the board. Don't hit the board's surface. You could damage the finish. Avoid hitting the screws' ends too often when driving screws. This will avoid splitting in the wood's ends grain.
You'll need to protect your completed project from the elements. You can either seal the entire piece of furniture or cover the top. You want it to last years, so you can use any product. You can choose from oil-based varnishes or polyurethane, shellac and lacquer as examples.
These products can generally be found in any home improvement shop. You should make sure you are getting the right type for the job. Also, remember that some finishes are toxic and should never be used indoors. So, always wear protective gear when handling them.