Woodturning requires a precision lathe to be an enjoyable hobby. There are many skills required to perform this type of work. Certain tools are better suited to this work, while others require more skill. This is why it is important to understand the basics of the process before you start. Below are the available tools and techniques. This article will also explain the cost of these tools. The right lathe will allow you to start turning quickly!
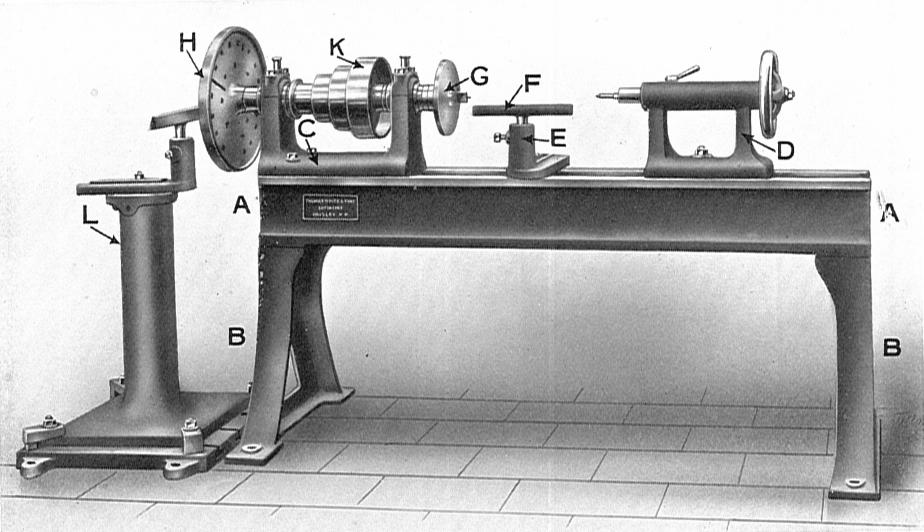
Lathe
If you are looking to purchase a woodturning tool lathe, it is essential to do your research. There are many lathes on the marketplace, so you should be able to distinguish between the different types before buying. These tips will help you select the right lathe.
First, dry your wood before starting your project. After several months, wood turns into a stable shape, but it warps as it gives up moisture. Woodturners do not want straight boards and will often add pieces to their work. Usually, they are looking for the figured part of the tree. You should dry your wood to a good degree if you want to create an exceptional woodturning object.
Tools
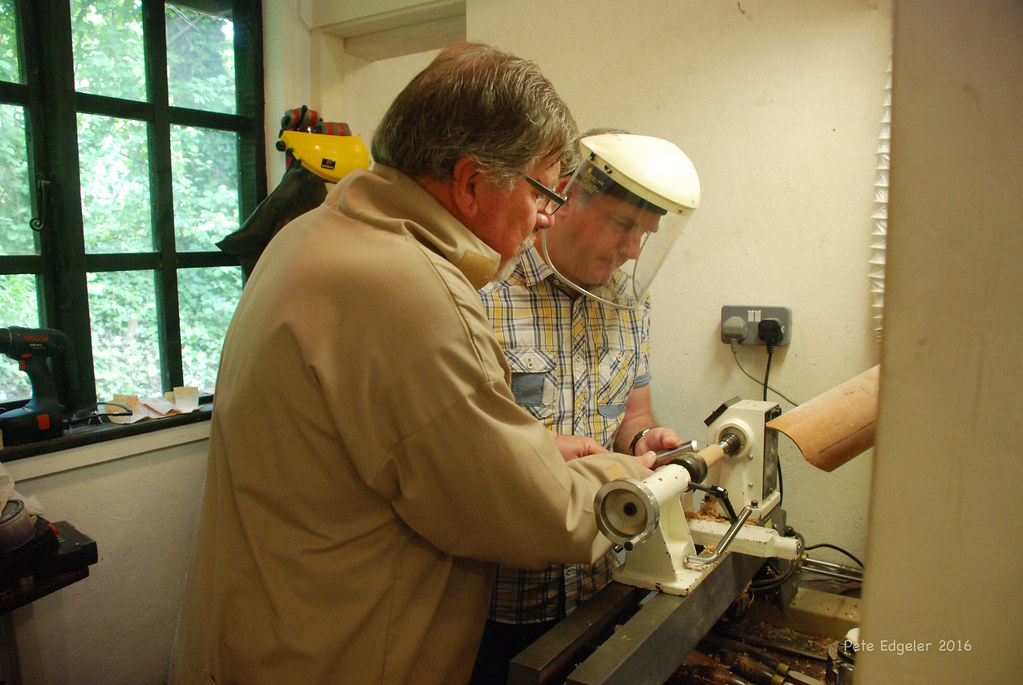
You will need a pair of saw blades, a bench and leather steel-toe boots to complete your woodturning tasks. Woodturners should wear safety glasses. Some tools are better suited for small items, while others may not be suitable for larger items. Others will require you to learn more advanced skills. For large items, some woodturning instruments are not recommended as they can cause injury.
A set of tools is better for beginners than a bunch. Your tools should be durable and of high quality. In the beginning, you will need a roughing saw, diamond paring tool, skew, as well as a variety of sizes. For larger jobs, you should invest in quality steel tools. You can add to your toolbox with several gouges.
Techniques
The book A Lesson Plan For Beginners teaches you the basics of woodturning. It offers step-by-step instruction and includes photos and illustrations to show the techniques for each project. It is based on classroom experiences. The text covers everything from selecting timber to setting it up, as well as the sanding process. The book also contains a number of projects to help improve your skills.
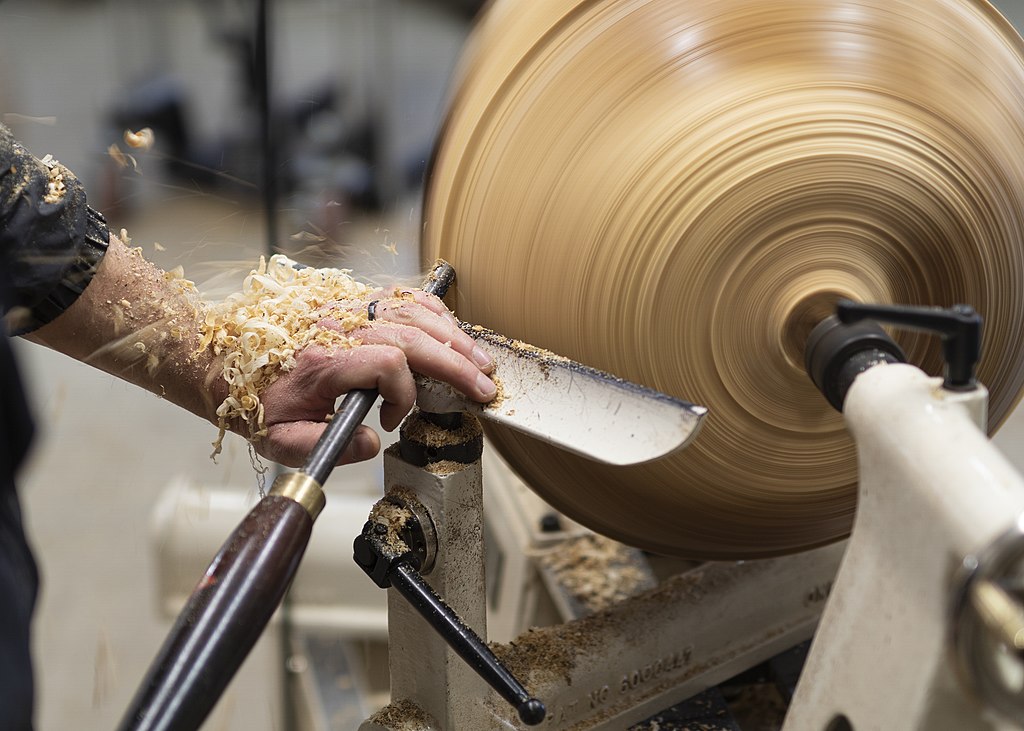
Rough turning is an inexact science and results in unevenly turned pieces. To avoid splitting and fracturing the wood, it is important to work with its grain. It's nearly impossible to correct mistakes made by others. Ultimately, you'll have to mount the piece on the lathe a second time and finish it. This technique works best for functional work. However some artists may use rough turning on pieces.
Cost
While woodturning is a hobby, the materials used are also a part of the cost of the finished product. Wood bowls that cost $20 are only about four to five dollars an hour to turn, but they're not cheap. Wood bowl turners may not always be proud of their work. This is why it is common for them to use less quality materials or make cheaper pieces that do more damage than good. Wooden bowls costing $20 can be donated to charity or given to friends.
The lathe is an important tool in the process of turning. The lathe is relatively inexpensive, but you'll need to purchase other tools and sharpening systems to get the best results. To turn your wood, you'll need rests or centers. These items can cost several thousand dollars so budget carefully. Woodturning supplies are a great hobby and can make any project more enjoyable.
Getting started
If you're considering starting woodturning, there are some basic things you should have on hand. You will need a lathe, gouges, and a sharpening tool to ensure that your tools are at the right angle. Before you start learning about sharpening, however, it's important that you are familiar with what you are doing. Here are some tips that will help you start your journey in woodturning.
First, work with the grain of the wood. Many woodturners refer to this as cutting downhill. For example, when hollowing out a cove you should work from the outside edges towards the center. You may have difficulty controlling the wood and your tool might catch if you go uphill. Make sure to read the instructions carefully. Keeping an eye on your work and being patient while working can ensure your success in woodturning.
FAQ
How can you calculate woodworking pricing?
It is essential to calculate costs as accurately as possible when pricing any project. You should always try to make sure that you are getting the best deal on materials. It is also important to consider the costs of other factors, such time, skill, and experience. Our guide to the average household DIY task price will give you an idea of how much it costs to complete different types of woodwork projects.
Are you a genius in order to master woodworking?
No. Woodworking is not difficult. It is possible to learn basic tools and techniques that will allow you to create beautiful art.
How can I keep my shop organised?
The first step toward keeping your workshop clean and organized is to set aside a designated area for storing tools. Your tools will stay sharp and ready to go when they are free from dust and debris. To hang accessories and tools, use pegboard hooks.
Statistics
- Most woodworkers agree that lumber moisture needs to be under 10% for building furniture. (woodandshop.com)
- The U.S. Bureau of Labor Statistics (BLS) estimates that the number of jobs for woodworkers will decline by 4% between 2019 and 2029. (indeed.com)
- The best-paid 10 percent make $76,000, while the lowest-paid 10 percent make $34,000. (zippia.com)
- If your lumber isn't as dry as you would like when you purchase it (over 22% in Glen Huey's opinion…probably over 10-15% in my opinion), then it's a good idea to let it acclimate to your workshop for a couple of weeks. (woodandshop.com)
External Links
How To
How to stain hardwood
Staining wood refers to applying chemicals to wood's surface. This chemical reaction causes the wood to change in color. The wood will turn from white to brownish-red due to the chemical reaction. While oak is the most widely used type of wood for staining purposes, other types of wood are also available.
There are several ways to apply stains to wood surfaces. You can mix the stain with a solvent, such as turpentine, and spray it onto the wood. Another method involves applying a solution of water to the wood. You can also mix stains with varnishes or paints so that they become part the finish coating.
Preparing your wood for staining is the first thing to do. Cleaning the wood thoroughly removes any dirt or grease that could interfere with applying the stain. Sanding the wood smooths out rough spots and scratches. Then you must decide what kind of stain you want to use. There are two main types of stain: non-penetrating and penetrating. Penetrating stains penetrate deeper into the wood than non-penetrating ones, making them ideal for dark colors such as mahogany. Non-penetrating stains work best with light colors like maple.
After you've decided what type of stain to apply, get ready for your tools. The best tool for applying stains is a paintbrush. It allows you to evenly distribute the liquid over the surface. You should also have some handy rags to wipe up excess stains after you finish painting. If you plan on mixing the stain yourself make sure that you have enough containers to hold the different components.
After you have prepared your materials, clean the area you intend to stain. Use warm water and soap to clean away dirt and dust. You can wipe down the entire furniture using a damp rag with clean water. If you intend to stain darker wood, make sure you get rid of any debris.
Apply the stain. Start at one end of the piece of furniture and brush or spray the stain onto the wood. You should work slowly and carefully. Continue moving along the grain until you reach your opposite end. The stain should not drip off of the wood's edge. Let the stain dry completely before proceeding with the next steps.
To protect the painted surface, apply a coat of clear polyurethane sealant. Apply three coats of polyurethane sealer. Allow the third coat of polyurethane sealer to dry overnight before applying the final coat.