
There are many options available if you are interested in purchasing a pen mandrel. These are the features you should look out for as well as costs and how they will be installed. These mandrels are a great way to protect your writing tools and add professional flair. If you're interested in purchasing one for your art studio, read on to learn more. And be sure to check out my other articles for more tips and advice.
These are the features
Pen mandrels could be very helpful for turning different types pens. The WoodRiver Professional Pen Turning Mandrel has a 7mm shaft, which can slide through the collet. This features self-centering, which eliminates the need for spacers when turning short projects. This mandrel also has 5 bushings that will prevent it from bowing, making it a versatile tool that can be used on a variety of projects.
Pen mandrels are prone to bow and bend when they are tightened. The reason for this is that the mandrel runs through a hollow central, which presses against mandrel shaft. The tailstock quill adjustment wheel tightens pen mandrel tube & bushing assembly. This feature is great for beginners as the knurled nuts can be misplaced, lost, stripped or thrown off-center.
There are many options
It doesn't matter if your pen is custom or kitless, you will need several options for mounting the components. Solid brass mandrels can support up to 15mm of the rear tenon. Mounting a penmandrel on your tailstock is possible with the help of the live mandrel savingr. They are simple to attach and remove and will slide through the center bore of a live center nose. These mandrels have a simple mounting and adjustment process and are very secure.
There are many options available for pen mandrels, so it's easy to find the one that fits your needs. A set of adjustable pen mandrels will make it easy to make pens that are both for advanced users and beginners. These allow you to adjust the pen barrel length and make it more precise. While the adjustable pen mandrels are more expensive than the fixed ones, they are less prone to over-tightening, which is a common mistake made by most rookies.
Cost
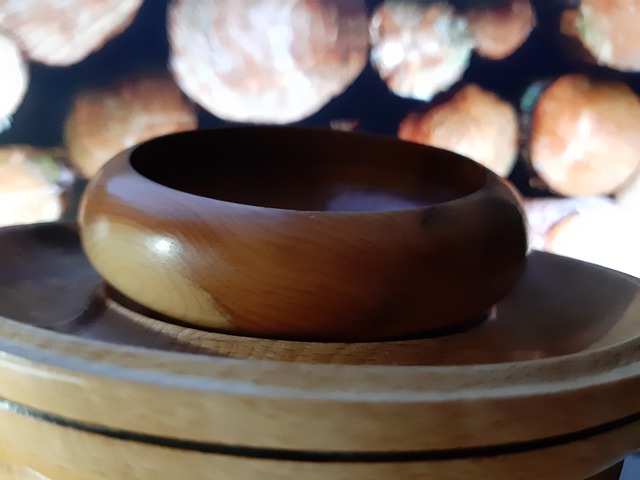
For turning blanks, pen need a mandrel. The pen mandrel is a round piece of steel that slides on to the bushings. Once the blanks are turned, the bushings can be adjusted to the right size. Every kit has a required bushing size. This is indicated by the letter after the bushing number. While a B-mandrel might not be necessary, some kits may require one. These mandrels include bushings and other features.
Mandrels can be purchased at a range of prices. A basic model can be purchased for between $12 and $15. You can also purchase mandrel bushings separately, if you prefer. Be aware that they won't be sold at a discount elsewhere. Some mandrels are not interchangeable with other bushings. Be sure to read customer reviews and the warranty of the manufacturer before you buy.
Installation
Installing pen mandrels is important in making high-quality custom pens. These specialized pieces of equipment can hold the rear tenon of a 15mm pen kit, and can also be used to hold components that have been drilled. Mandrels are also useful in making pens that have both internal and exterior threads. For best results, use these tools in conjunction with your lathe.
Whiteside Pro Pen Mandrel System uses modern technology to create a superior grip for the mandrel. This system allows for quick adjustments to suit different length projects and reduces the risk of mandrel shaft bowing. These tools are ideal for turning different length projects, such as small key chains, smaller and larger pens. Make sure you tighten the nuts on your mandrel properly to ensure a flawless installation.
FAQ
Do you have the skills to learn woodworking?
It is best to do it yourself. Woodworking is an art that takes patience, practice, skill and experience. Any craft requires patience to master.
It is the best way to learn to do something is to actually do it. Start small and then build upon what you've learned.
Where do I get my woodworking supplies?
There are plenty of places where you can find everything you need to start out. You could shop at your local hardware store or go online to Amazon.com.
You can also check garage sales and flea markets for old furniture and other materials you can reuse.
Are there any other things I should know regarding woodworking?
It's easy to underestimate the amount of work involved in making furniture. Finding the right type of wood is the most difficult aspect of this process. It is difficult to choose between the various types of wood.
Another problem is the fact that not all wood has the same properties. Some woods will warp and others will split or crack. These things should be considered before you buy wood.
Does it take a genius to make woodworking work?
No. Woodworking is not difficult. You can create beautiful pieces of art by learning how to use simple power tools.
Statistics
- The best-paid 10 percent make $76,000, while the lowest-paid 10 percent make $34,000. (zippia.com)
- Woodworkers on the lower end of that spectrum, the bottom 10% to be exact, make roughly $24,000 a year, while the top 10% makes $108,000. (zippia.com)
- Overall employment of woodworkers is projected to grow 8 percent from 2020 to 2030, about as fast as the average for all occupations. (bls.gov)
- In 2014, there were just over 237,000 jobs for all woodworkers, with other wood product manufacturing employing 23 percent; wood kitchen cabinets and countertop manufacturing employing 21 percent. (theartcareerproject.com)
External Links
How To
How to make wood joints
This tutorial will demonstrate how to join two pieces together of wood. We'll use the "pocket hole joint," which means we drill holes in the wood and then glue them together. This method is great if your wood's straight and smooth. You may want to consider other methods, such as dowel joining. These are the steps
-
Drill Pocket Hole Joints. You will need to measure and mark the exact location of your pocket hole joint. Next, drill 3/4 inch holes in each end of each piece using a handheld drilling machine or jigsaw.
-
Sand Smooth. You can sand the edges of the wood to ensure that it doesn't split.
-
Glue together. Apply glue to both the ends of the wood. Allow it to sit for approximately 5 minutes before you clamp the pieces together.
-
Fix the Pieces together. Once the glue has dried, clamp the pieces together so they are flush.
-
Trim Joinery. After the glue dries completely, trim off any excess wood around the joint.
To be able to turn the pieces inside-out, leave enough room between them.