
There are several different types of dovetail tools. Dovetail lathe tools are generally made with an included angle of 90 degrees. Figure 3 shows two 0.100"-dia. There are many options for dovetails tools, including different neck diameters and included angles. These tools are versatile and available in a range of sizes. This article will discuss the differences and compare the two types.
Dovetail milling cutter
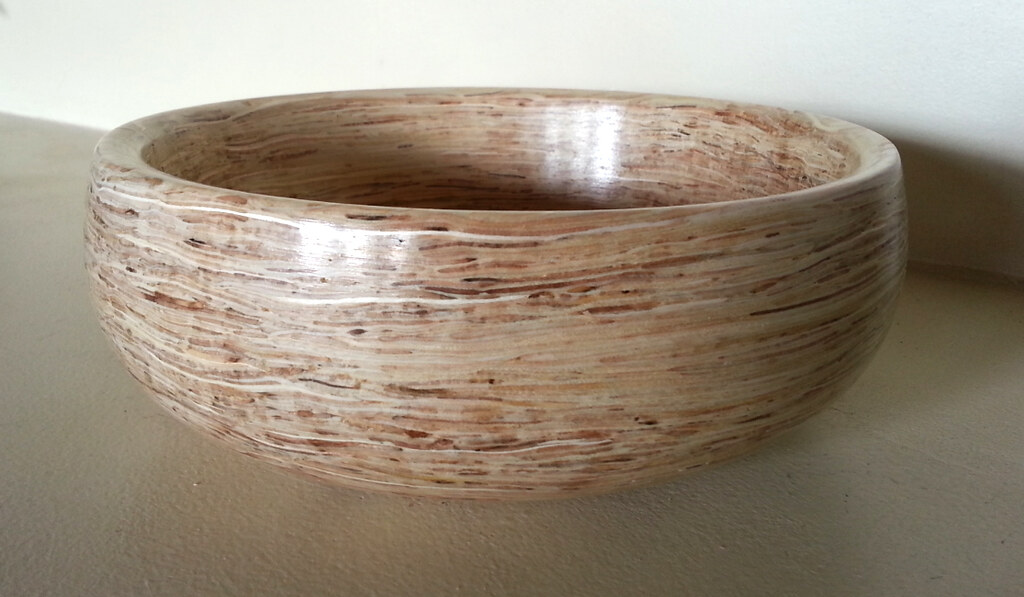
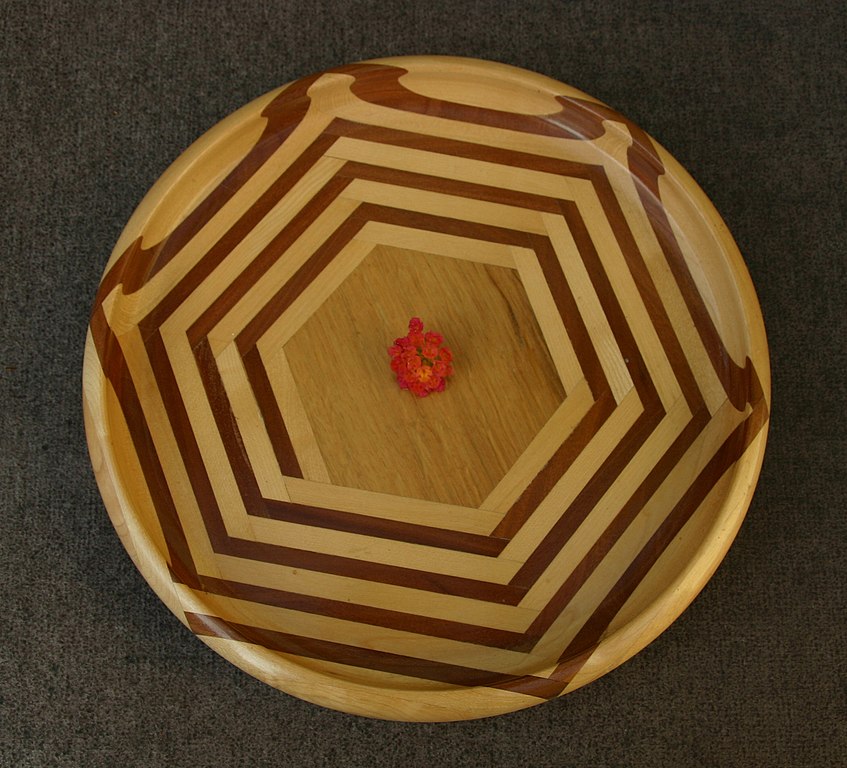
Dovetails consist of pieces of wood laid parallel on a lathe. They are also known as jigs. They are used in manufacturing, but not in automotive. Dovetails are among the most commonly used woodworking tools. However, the dovetail tool is not just a woodworking tool. It is also used for optical systems.
A dovetail milling cutter is a type of chamfering tool used to create bevels or reliefs on the underside of stock. It can also be used for flat aluminum pieces to be deburred. These tools are commonly micro-grain carbohydrateside and can be ordered in a range of lengths, cutting diameters, and geometries.
To hold small workpieces, dovetail tools can be combined with vices. These vices can be set up for machining on a table at an angle of up to 90 degrees. Dovetails can also be milled in the opposite direction. The first dovetail should be cut parallel and the second 90 degrees from it.
Dovetail lathes often have too many tools for the size of their dovetails. This causes imperfections in surfaces and can sometimes lead to tool failure. Dovetail cutters are smaller than standard end mills and have a smaller neck. Dovetail tools, in other words, should not be used without care.
Dovetail chisel
A good dovetail tool will simplify the job and make it easier to get the joint perfectly square. A good dovetail cutter will give you a better angle when cutting dovetail tail boards. Ashley Iles makes a good dovetail chisel that features a nice triangular cross section and a good amount of flex for ease of use. These chisels are also available with an oiled cloth on the base of the pocket.
A dovetail cutter will make it easy to create a recess in your dovetail. The triangular cross section of the blade allows it to be fitted into the tightest corners. The hollow back ensures maximum hold power. Finally, the chisel includes a handy scale that can be used to measure the diameter of the dovetail.
Umeki-nomi, an old Japanese chisel which excels in removing waste between dovetails, is another useful dovetail chisel. The tool has a triangular crosssection and narrow edges. Its blades are made of a combination hard high-carbon Hitachi steel on the front and soft steel at the back. Takao Shubano, a Japanese master blacksmith, makes the blades. This tool has more than 50 years' experience in toolmaking.
Nova Dovetail Chisel
To get the most out of your dovetail lathe, you need a quality dovetail chisel. Nova Dovetail Chisel creates the dovetail recess to fit your dovetail jaws. The chisel's unique shape provides maximum holding power for your dovetailchuck. You may not find the same dedicated shape on other chisels, which could result in poor dovetail form or improper seating of your jaws. The chisel comes with a handy scale that measures the exact diameter of the dovetail recess. It cuts dovetails for both 50mm (2") and 100mm (4") jaw sets.
The NOVA Dovetail Chuck Accessory makes it possible to create a dovetail groove for your dovetail chucking. It is a perfect match for the NOVA Accessory Jaws, ensuring a precise cut and an optimal grip. The NOVA Dovetail Chisel by Teknatool International is backed with a two year replacement warranty.
Another benefit of the Nova Dovetail Chisel for the dovetail lathe is that it is easy to use. It doesn't require the Turner for a bevel edge to be maintained, which can be the most challenging part dovetail lathe work. It is suitable for both beginners as well as experts. It's also very easy to sharpen.
FAQ
You can learn how to woodwork.
The best way to learn anything is by doing. Woodworking is an art that takes patience, practice, skill and experience. To master any craft, it takes time.
It is the best way to learn to do something is to actually do it. Start small and use what you learn.
What are the basics of woodworking?
Building a bench is a great way to get started in furniture building. This project can easily be done using whatever wood you have at your house. If you are unsure what type of wood is best, you can get cheap pine boards at Lowes (or Home Depot) instead. After you've built your bench, you'll want to sand off all the rough edges and finish it with a stain or varnish.
What wood items do well?
The most successful wooden items are made from sustainable wood.
Most furniture is made from oak, maple, mahogany or walnut.
These woods are strong and durable, with beautiful grain patterns. They are also very durable if properly maintained.
To prevent moisture damage, wood furniture should always first be painted. All surfaces should be painted, including doors, drawers, and handles.
Choose a paint with water resistance if you want furniture to last as long possible.
It is recommended to use an oil-based primer, then apply two coats. It is possible to apply multiple coats depending on how heavy the wear.
You should avoid using aerosol paints or spray cans. These products contain solvents which evaporate quickly and leave behind harmful fumes.
Statistics
- Most woodworkers agree that lumber moisture needs to be under 10% for building furniture. (woodandshop.com)
- If your lumber isn't as dry as you would like when you purchase it (over 22% in Glen Huey's opinion…probably over 10-15% in my opinion), then it's a good idea to let it acclimate to your workshop for a couple of weeks. (woodandshop.com)
- Woodworkers on the lower end of that spectrum, the bottom 10% to be exact, make roughly $24,000 a year, while the top 10% makes $108,000. (zippia.com)
- Overall employment of woodworkers is projected to grow 8 percent from 2020 to 2030, about as fast as the average for all occupations. (bls.gov)
External Links
How To
How to stain wooden surfaces
Staining wood refers to applying chemicals to wood's surface. This chemical reaction causes the wood to change in color. This chemical reaction changes the wood's color from white to brownish. While oak is the most widely used type of wood for staining purposes, other types of wood are also available.
There are many options for applying stains to wood surfaces. You can mix the stain with a solvent, such as turpentine, and spray it onto the wood. You can also apply a solution containing water and dye directly to the wooden surface. You can also mix stains with varnishes or paints so that they become part the finish coating.
Preparing the surface for staining wood is the first step. You must clean the wood well to remove any grease or dirt that might interfere with the application of the stain. Sanding smoothens scratches and rough spots. Then you must decide what kind of stain you want to use. There are two main types of stain: non-penetrating and penetrating. Penetrating stains penetrate deeper into the wood than non-penetrating ones, making them ideal for dark colors such as mahogany. Light colors such as maple work well with non-penetrating stain.
You will need to decide on the type of stain you want to use, and then prepare your tools. The best tool for applying stains is a paintbrush. It allows you to evenly distribute the liquid over the surface. You should also have some handy rags to wipe up excess stains after you finish painting. If you plan to mix the stain yourself, make sure you have enough containers available to hold the different components of the mixture.
After you have prepared your materials for staining, clean the area. To remove dirt and dust, use warm water and soap. You can wipe down the entire furniture using a damp rag with clean water. Make sure you eliminate any loose debris, especially if you plan to stain darker wood.
The stain should be applied next. Apply the stain by brushing or spraying it onto one side of the furniture. Slowly and carefully move along the grain of wood, slowly but steadily, until you reach the other end. You must be careful not to allow the stain to drip off the wood's edges. Before moving on to the next steps, allow the stain drying completely.
Protect the painted surface with a coat polyurethane paint sealant. Apply three coats polyurethane sealer. Allow the third coat to dry overnight, before sanding.