Redbubble has a great selection of clothing that you can use for woodturning. There is a wide selection available on this site, with clothing in all sizes. It's even more amazing that they support independent artist! You can even get a shirt with a picture of your favorite woodturner on it! Safety is the top priority, no matter what shirt you choose.
Segmented turning is a method of woodturning clothing
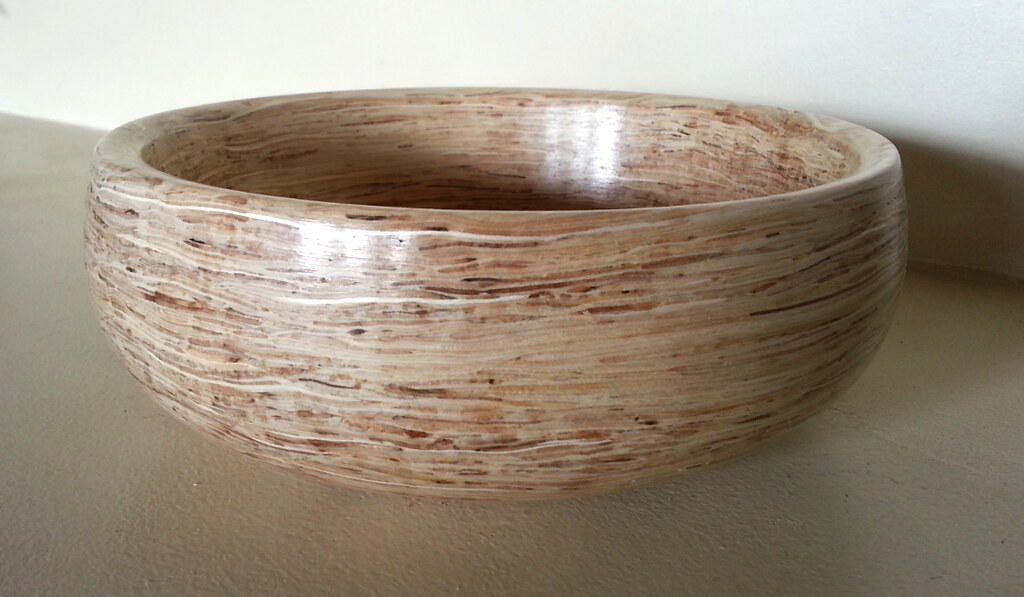
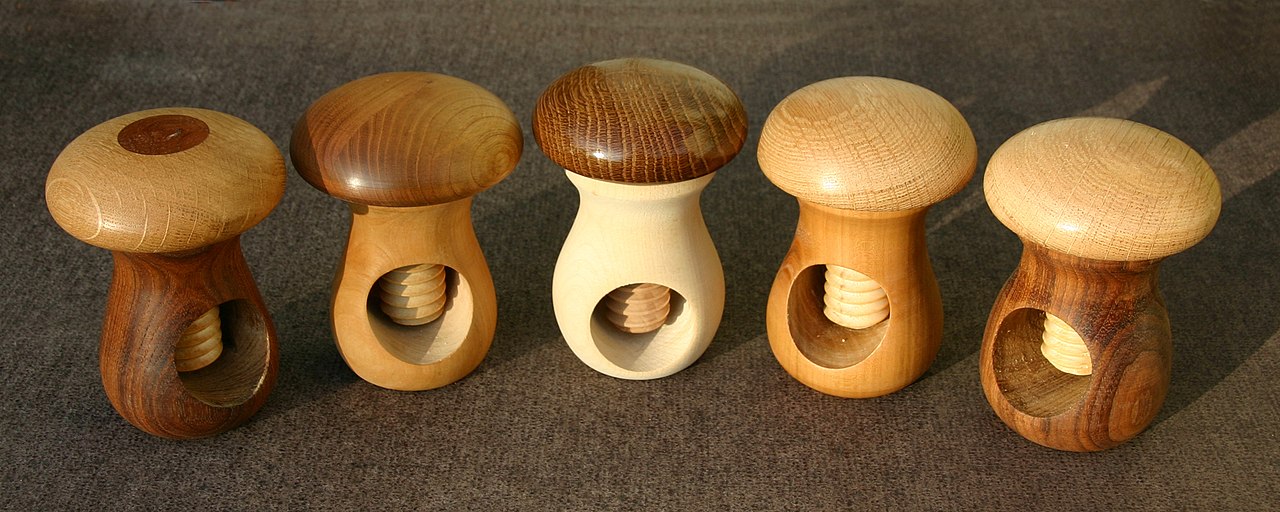
Segmented turn is a technique that creates pieces that interlock with each other. The method is similar to ring making except that the segments have small gaps between them. The segments are placed in an overlapped fashion, with the sequential or successive rings being offset in a particular direction. This method may seem delicate, but it's actually very sturdy. No matter your level of experience, a book on segmented turning is a great investment.
It's a very effective technique that allows turners create visual effects and patterns by carefully separating segments. Although it requires accurate turning, it requires no more complicated skills than basic woodturning. Dennis Keeling, a professional turner, demonstrates basic segmented-turning techniques in this guide. This course teaches you how to accurately use three major areas: construction, machinery, and materials.
Protective clothing will make you a better woodturner. It is best to avoid loose-fitting clothes and shirts that can catch the lathe. Also, do not wear jewelry, hanging hair, or long-sleeved shirts. Additionally to safety glasses, protective gloves must be worn on your hands and feet. When working with wood, you should also use protective eyewear.
Woodturners consider safety a top priority
Safety is paramount in woodturning as with all activities. When turning wood, a wood turning safety routine includes stopping before you enter the "red zone" by switching the lathe on or off. Woodturners need to be aware of others when turning. You should always hold the tools comfortably. The tool rest should be in contact with the wood before the tools can touch it. Woodturners must turn the lathe off before they can adjust the base and rest of the tool rest. Prior to polishing and sanding, they must also take off their tools.
Wearing the appropriate clothing is another essential safety step. Don't wear loose-fitting clothing as they can catch on the spinning blades. Choose form-fitting clothes to minimize injury. Eye protection should be a top priority for anyone working in a workshop. Although safety goggles are adequate for grinding wood, full face visors will offer better protection from flying objects.
Workers should also be aware of fire safety and fire escapes. Safety is essential in any workplace. Even experienced woodworkers could trip and cut themselves if they don't have gloves. You should also not leave a toolbox containing large pieces or wood in it. If the wood remains in the spinning machine, it could turn into a missile. Woodturning insurance is a great way to protect woodworkers against injury.
Equipment needed for woodturning
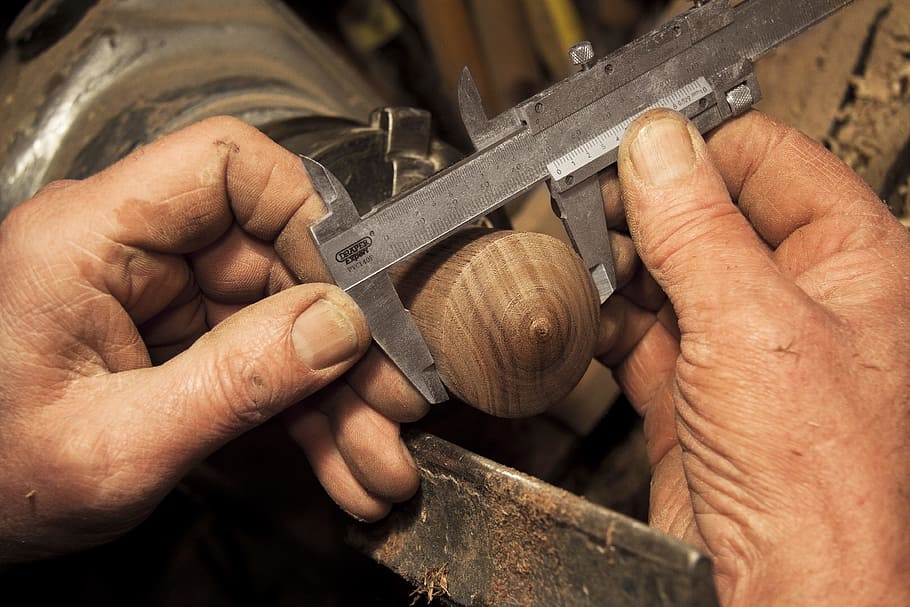
Before you begin woodturning, you should know that you need several pieces of equipment. You'll need a lathe along with a pair or eye protection. After use, oil and water stones require extensive cleaning. Diamond stones require less cleaning and maintenance than oil stones. Both types of stones are expensive so make sure to consider the cost of tools before you decide which one to buy.
Turning any type of wood is possible, although pressure-treated wood may not be recommended. Rosewood and cocobolo can irritate some people, so you might want to stay away from them. Wearing a respirator can prevent you from getting respiratory problems. Make sure all tools are dry and clean. In addition, you might want to get a respirator for protection against wood dust, which is common for woodturning projects.
Scrapers are essential for any project. Scrapers can be used to smoothen rough edges. These tools work with burrs instead of blades and come in different grinds. For marks on the outside, a round-nose scraper can be used. Beginners in woodturning should use a 1-inch scraper.
FAQ
Where can I buy woodworking supplies?
There are many places that you can find all the information you need. You could shop at your local hardware store or go online to Amazon.com.
You can also search flea and garage sales for furniture and other materials that can be reused.
How long does it take for furniture to be finished?
It depends on the type and complexity of your design as well as the amount of finishing that you use. Hardwoods, on the other hand, are more durable than softwoods. Hardwoods can also be more costly than softwoods. But they last longer and resist moisture better. The process of finishing a piece of furniture typically takes anywhere from one week to three months.
What material would your recommendation be to learn woodworking?
Start with softwood like pine, poplar and ash. Once you feel comfortable with these two, move on to hardwood.
Statistics
- Overall employment of woodworkers is projected to grow 8 percent from 2020 to 2030, about as fast as the average for all occupations. (bls.gov)
- The U.S. Bureau of Labor Statistics (BLS) estimates that the number of jobs for woodworkers will decline by 4% between 2019 and 2029. (indeed.com)
- Most woodworkers agree that lumber moisture needs to be under 10% for building furniture. (woodandshop.com)
- Woodworkers on the lower end of that spectrum, the bottom 10% to be exact, make roughly $24,000 a year, while the top 10% makes $108,000. (zippia.com)
External Links
How To
How to join wooden boards without using nails
Woodworking is a hobby that many people enjoy doing. You can make useful items from wood with your hands, which is both relaxing and fun. Sometimes you may want to join two pieces together of wood without using nails. This article will demonstrate how to do so to preserve the beauty of your woodwork.
Before joining the pieces of wood together, you will need to first trim any edges. You don't want to leave sharp corners that could cause problems later on down the road. Now it's time to start glueing your boards together.
You should only glue one side of hardwood. Use glue on both the sides for softwoods, such as cedar or pine. Press the boards down until the glue is fully incorporated. Before you proceed to the next step, be sure to let the glue dry completely.
After you have glued your boards, drill holes where you want to insert screws. You can choose the type of screw to determine the size of your holes. If you are going to use a half-inch wood screw, you will need to drill at least 3/4 inch deep.
Once you've drilled your holes, you'll want to drive the screws through the joint and into the backside of the board. Do not hit the boards' front surfaces. It will ruin the finish. Try to not hit the ends of the screws when driving the screws. This will prevent the wood from splitting.
Once your project is complete, it's time to protect it against the elements. You have two options: seal the whole furniture piece or just the top. You will want to choose a product that will be durable for many years. There are many options: oil-based varnishes; polyurethane; shellac; lacquer.
These products can generally be found in any home improvement shop. It is important to ensure that you purchase the correct product for the job. Keep in mind that certain finishes can be toxic and should not be used indoors. So, always wear protective gear when handling them.